Schluter®-RENO-RAMP/-K
Transition profile for reducing to lower elevations in commercial spaces

- Prevents tile edges from chipping
- Creates smooth transitions to eliminate trip hazards
- Ideal for transitions from tile coverings to finished concrete
- Suitable for wheel carts in commercial applications
- Certain sizes are ADA-compliant
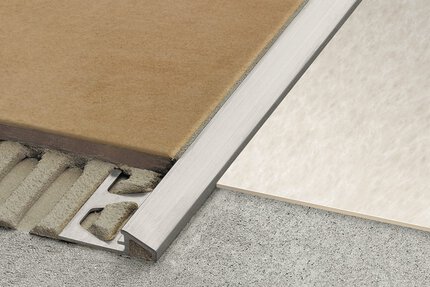
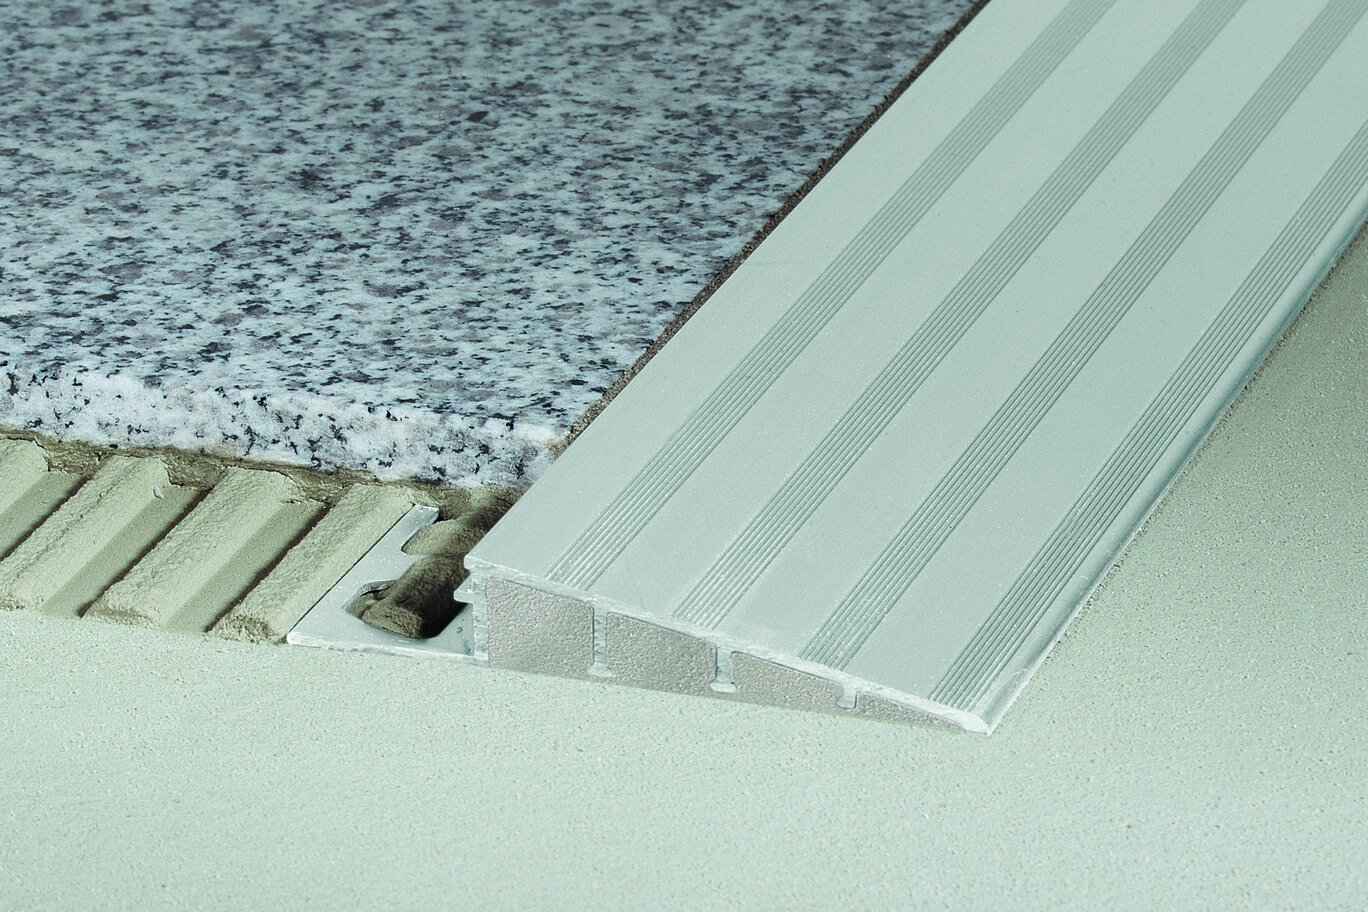
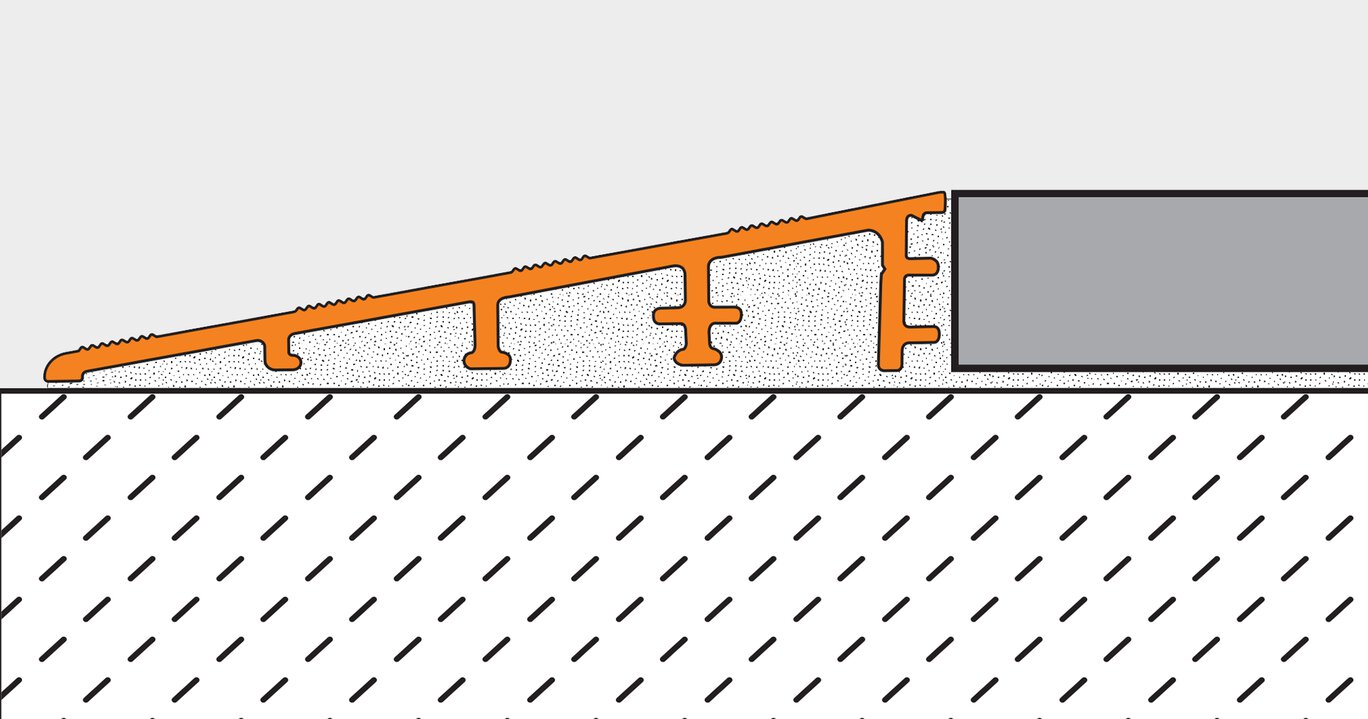
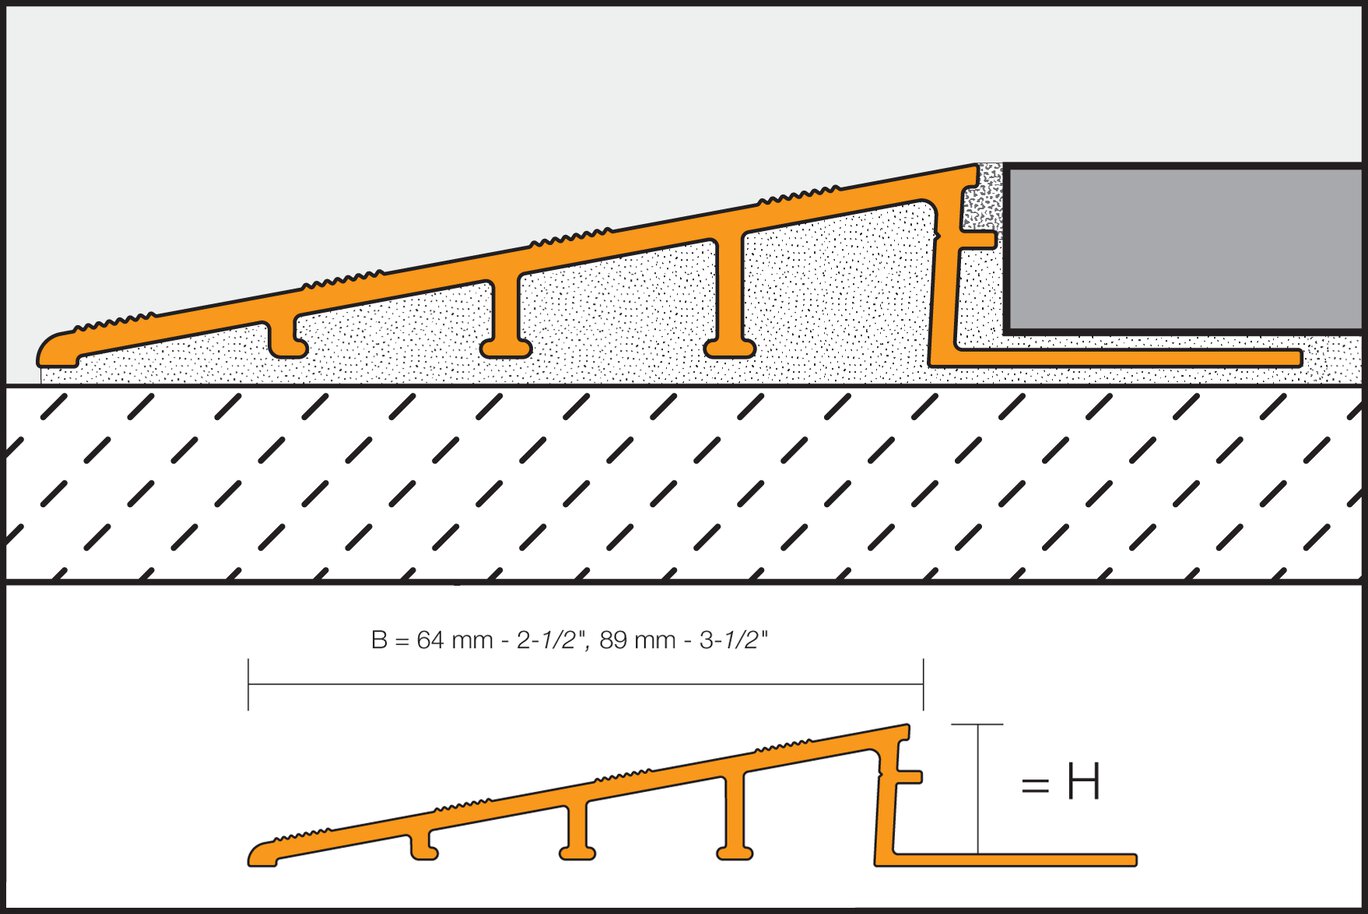
- RENO-RAMP is installed in conjunction with the tile and features an anchoring leg which is embedded in the tile bond coat
- Switch to RENO-RAMP-K for retrofit applications
- Available in satin anodized aluminum
Find recommended accessories here

Profile Estimator
Discover what you need for tile protection and easy transitions.
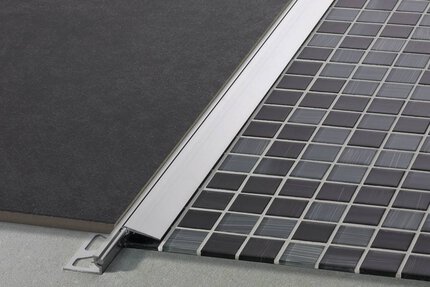
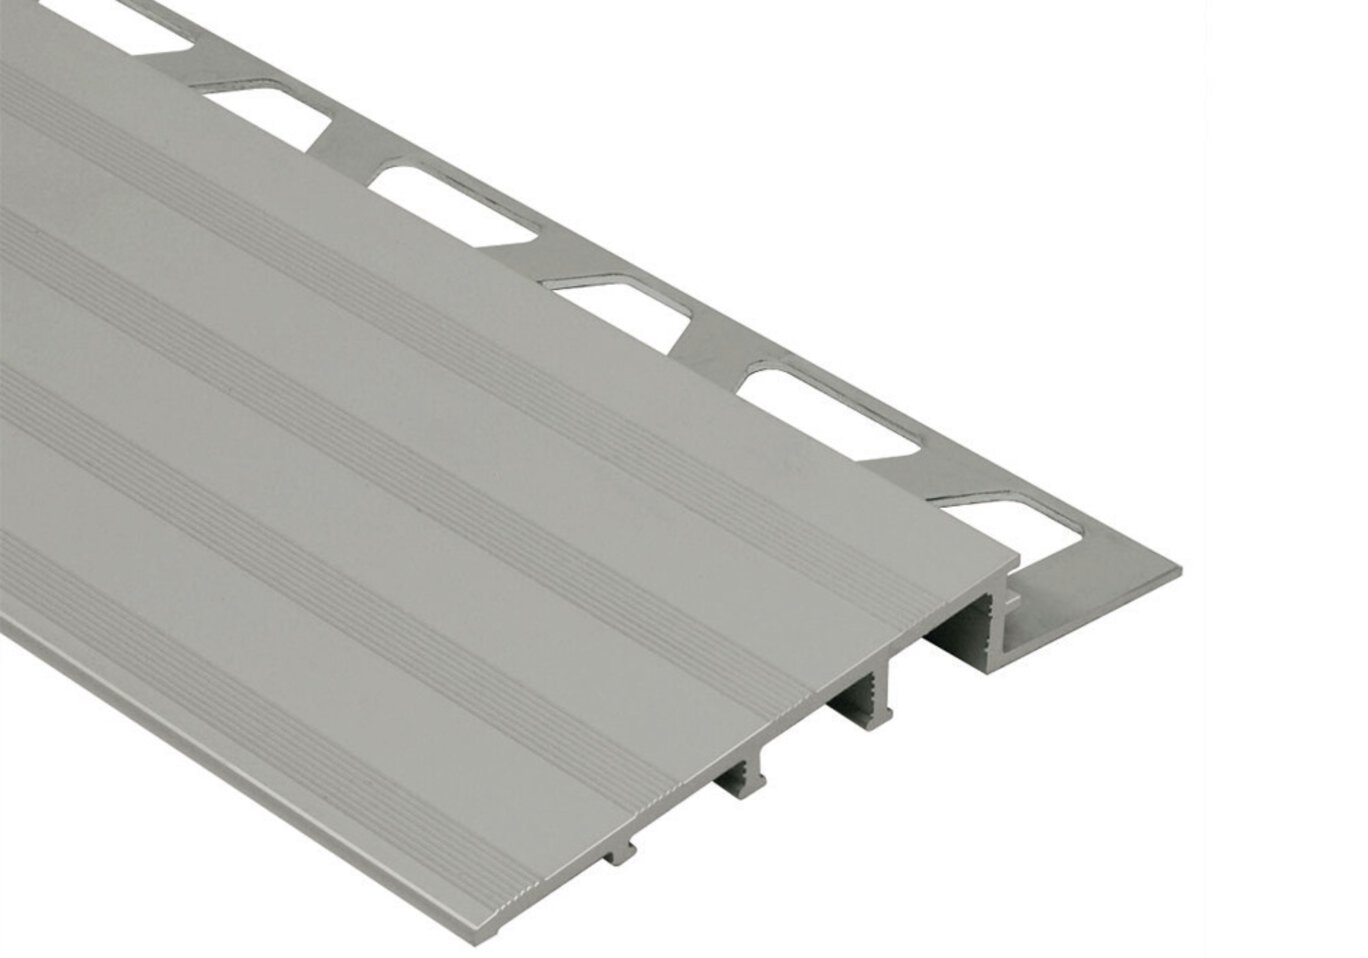
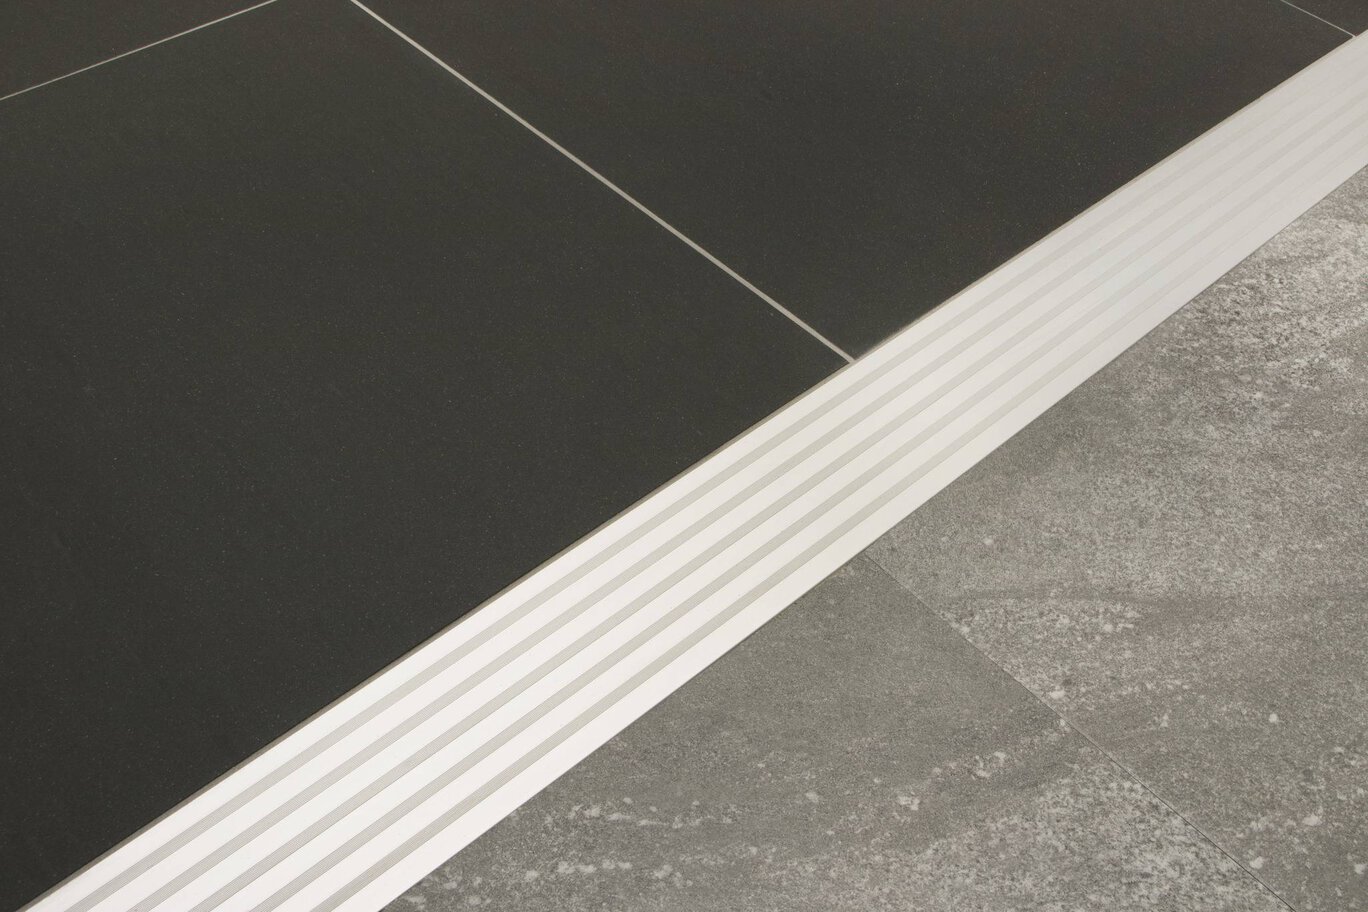
Schluter®-RENO-RAMP is designed to provide a smooth transition between tile coverings and floor coverings at lower elevations or finished concrete, particularly in commercial applications where wheel carts are used (e.g., bakeries, hospitals, etc.). The profile is available in anodized aluminum. RENO-RAMP features a trapezoid-perforated anchoring leg, which is secured in the mortar bond coat beneath the tile, and a sloped transition surface that terminates at the height of the tile edge. The profile protects tile edges and provides a sloped surface to eliminate trip hazards and allow easy access for wheel carts. RENO-RAMP features an integrated joint spacer that establishes a defined joint cavity between the tile and the profile. Schluter®-RENO-RAMP-K is a variant of the profile without an anchoring leg.
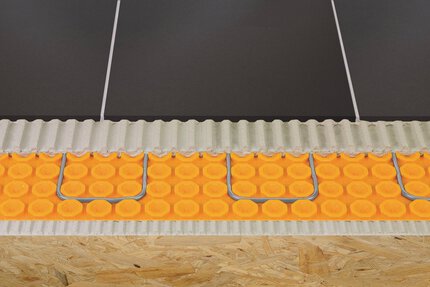
Note: When using Schluter® uncoupling membranes with RENO-RAMP profiles, factor in the thickness of the membrane over the anchoring leg when selecting the profile height.
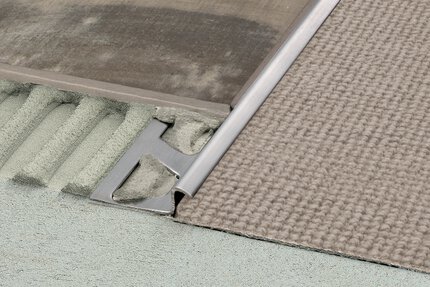
RENO-RAMP-K is installed adjacent to existing floor coverings, e.g., retrofitting between existing floor coverings and bare concrete without having to disturb the existing flooring. All sizes of RENO-RAMP, except sizes 9/16" (15 mm) and 3/4" (20 mm), are compliant with the Americans with Disabilities Act (ADA).
The Schluter RENO-RAMP AND RAMP-K profiles requires no special maintenance or care and is resistant to mold and fungi. Clean profiles periodically using neutral cleaning agents. In the case of anodized aluminum, do not use abrasive cleaning agents.
RENO-RAMP 1- Seleccione el perfil RENO-RAMP según el espesor y el formato de la baldosa.
Nota: cuando utiliza membranas de descoplamiento Schluter® junto con los perfiles RENO-RAMP tenga en cuenta el grosor de la membrana sobre el ala de fijación al seleccionar la altura del perfil.
2- Rellene la cavidad por debajo de sección inclinada del perfil con mortero de capa fina.
3- Usando una llana dentada, aplique mortero de capa fina al área donde ubicará el perfil.
4- Presione el ala de fijación perforada del perfil en el mortero y alinee.
5- Aplique con la llana una cantidad adicional de mortero de capa fina en el ala de fijación perforada del perfil para asegurar un soporte y cobertura total de los bordes de la baldosa.
6- Incruste sólidamente las baldosas para que la superficie quede a ras con la parte superior del perfil; el perfil no tiene que estar más alto que la superficie recubierta con baldosas sino más bien aproximadamente 1/32" (1 mm) más bajo.
7- Coloque la baldosa con el separador de juntas integrado, que garantiza una junta uniforme de 1/16" - 1/8" (1,5 a 3 mm).
8- Rellene la junta completamente con lechada o material de fraguado.
9- Trabaje con materiales y herramientas que no rayen ni dañen superficies delicadas. Los materiales de fraguado deben quitarse inmediatamente, especialmente del aluminio anodizado.
RENO-RAMP-K 1. Fill the cavity beneath the sloped section of the profile with thin-set mortar.
2. Con llana dentada aplicar mortero fino en la zona donde se va a colocar el perfil.
3- Presione el perfil en el mortero y arrime al revestimiento de piso adyacente. El perfil no debe estar más alto que el revestimiento de piso adyacente sino más bien aprox. 1/32" (1 mm) más bajo.
4- Rellene las juntas completamente con lechada o material de fraguado.
5- Trabaje con materiales y herramientas que no rayen ni dañen superficies delicadas. Los materiales de fraguado deben quitarse inmediatamente, especialmente del aluminio anodizado.
FAQ
¿Cómo corto los perfiles?
Los perfiles Schluter® están disponibles en diferentes materiales, por lo que los métodos de corte varían. A continuación, se indican las mejores prácticas de corte según...
Read moreCAD drawings
Especifique nuestros productos utilizando el


Watch & Learn
About the product
Cómo instalar una transición de baldosas en pisos: Schluter®-RENO-RAMP/-K

Introducción los perfiles Schluter®

Consejos para elegir la altura de su perfil en relación con su baldosa
Cómo aplanar su substrato para los perfiles Schluter®
Find some existing tutorials and project documentation videos to learn how-to get the best out of our products - for more fun in your life, start now!
Watch more videos / playlists